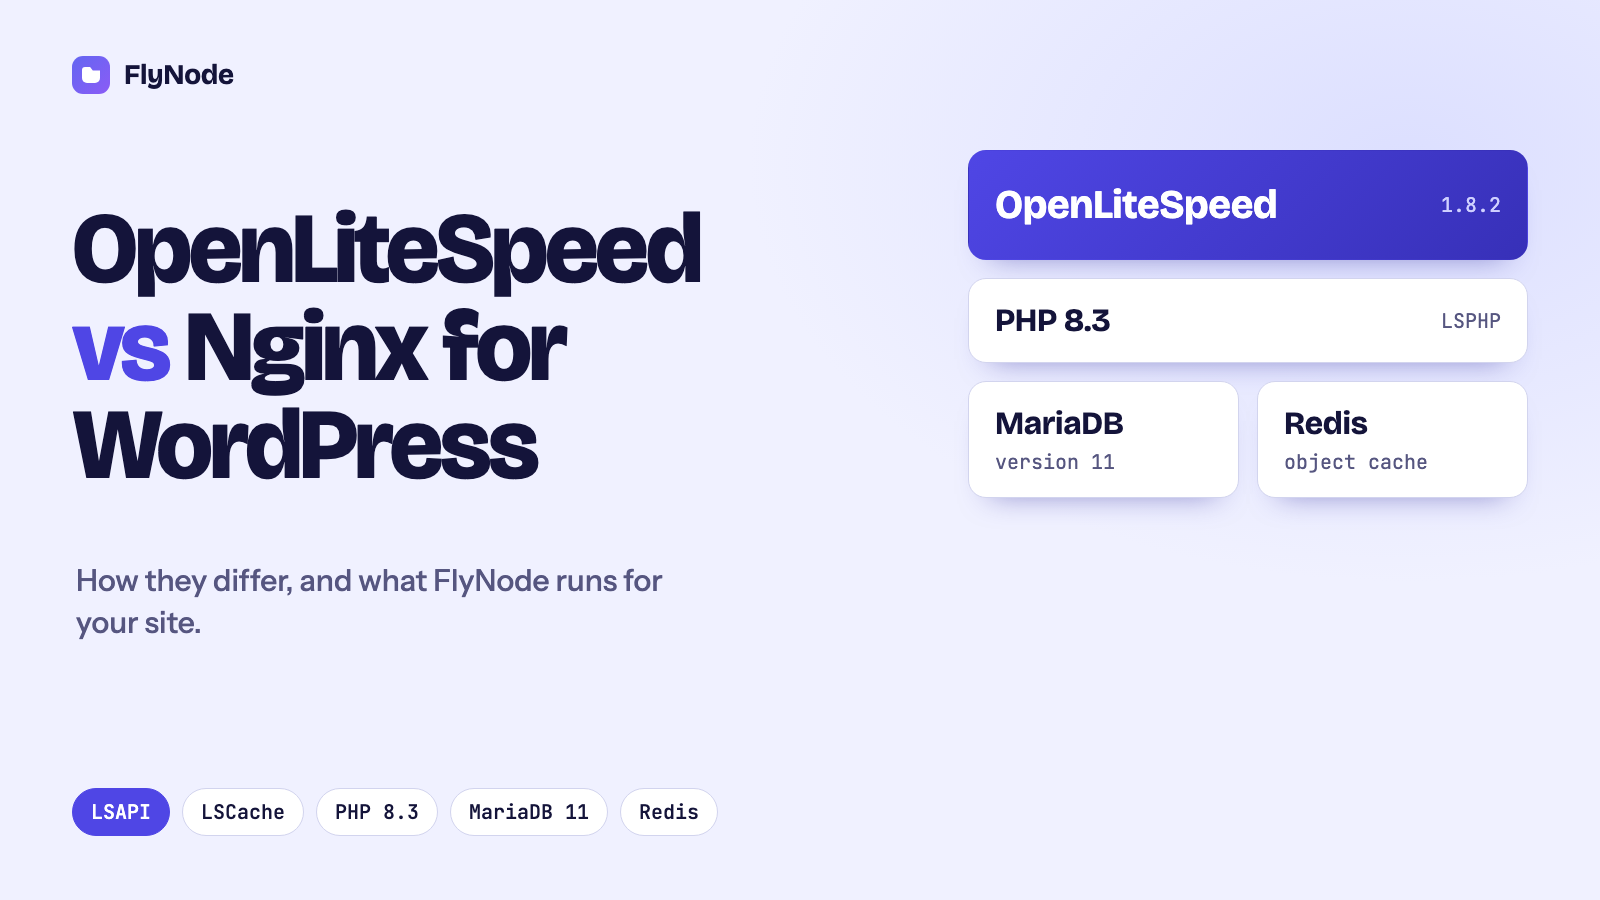
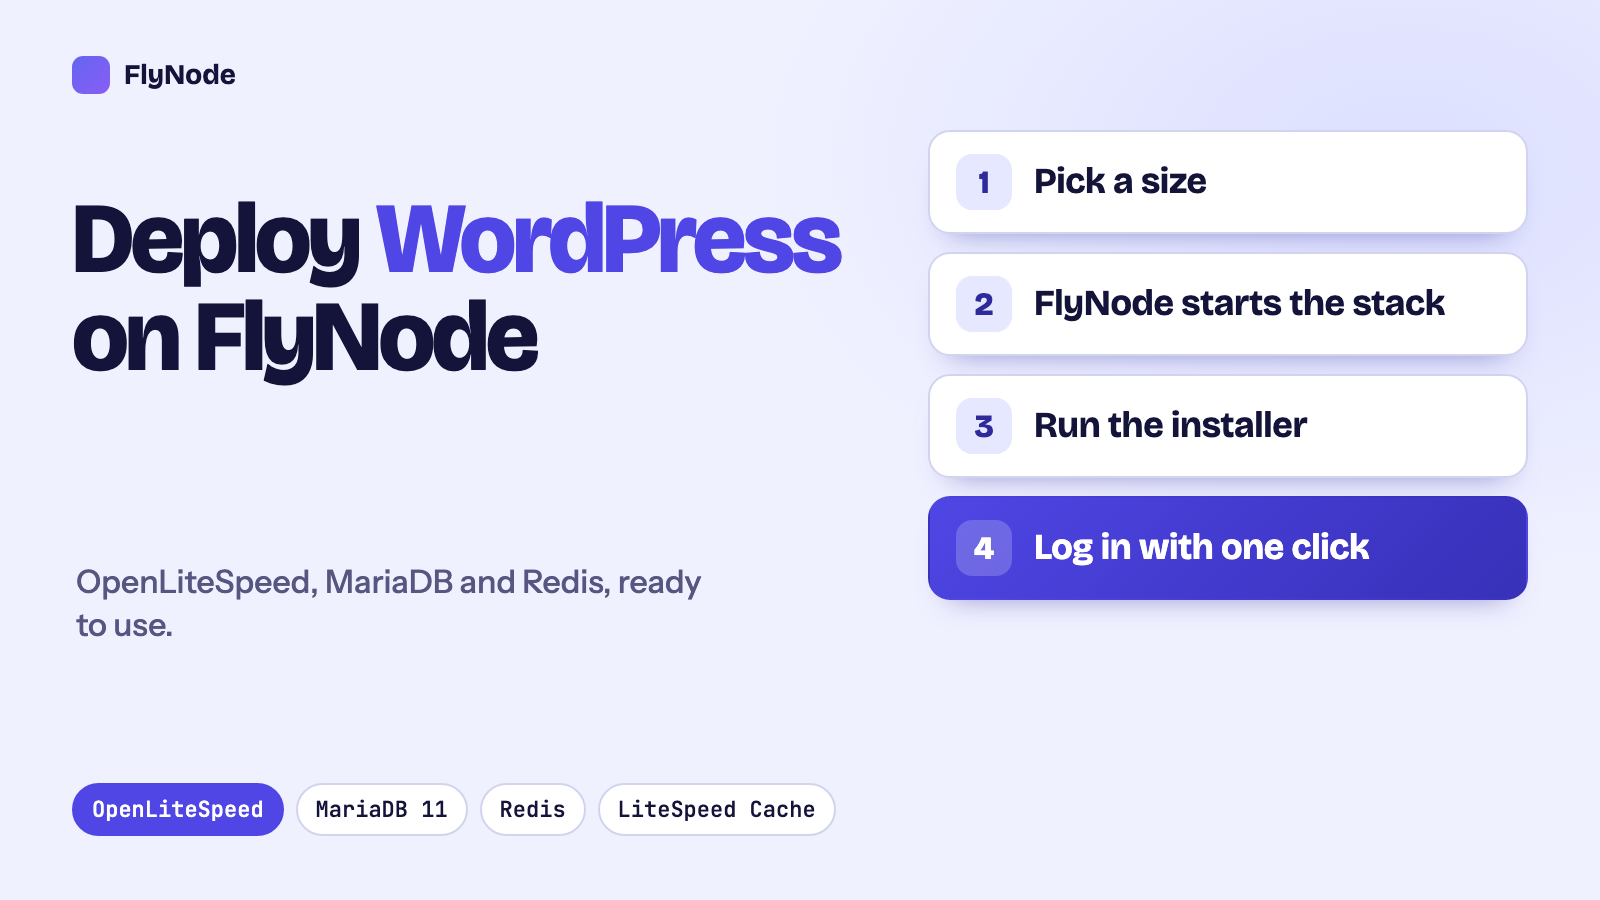
The short answer: To deploy WordPress on FlyNode, pick a Cloud Workspace size on the WordPress page, check out, and wait until the app shows Running. FlyNode starts the whole stack for you: WordPress on OpenLiteSpeed 1.8.2 with PHP 8.3, MariaDB 11, Redis and a file manager. You then run the normal WordPress installer and sign in with the 1-Click WP-Admin button. The smallest size costs $2.95 a month, and there is no server, database or cache to set up by hand.
Setting up WordPress on your own server is a good way to spend an afternoon. You install a web server, PHP and a database, create a database user, write a config file, add a cache, then find out why the site shows a blank page. It works, but it is a lot of steps between you and a blog post.
This guide shows the other route. We will go from the pricing table to a running WordPress site, and then look at what FlyNode set up for you behind the scenes, so that nothing in the stack is a mystery.
What you need
Not much:
- An email address, to create your FlyNode account at checkout.
- A payment method for the Cloud Workspace you choose.
- A little time, most of it spent waiting for the first start.
WordPress on FlyNode runs on a Cloud Workspace. That is a fixed amount of RAM, CPU and storage that your apps share. There are no separate WordPress plans, so the size you pick is the size your site gets. You can change it later.
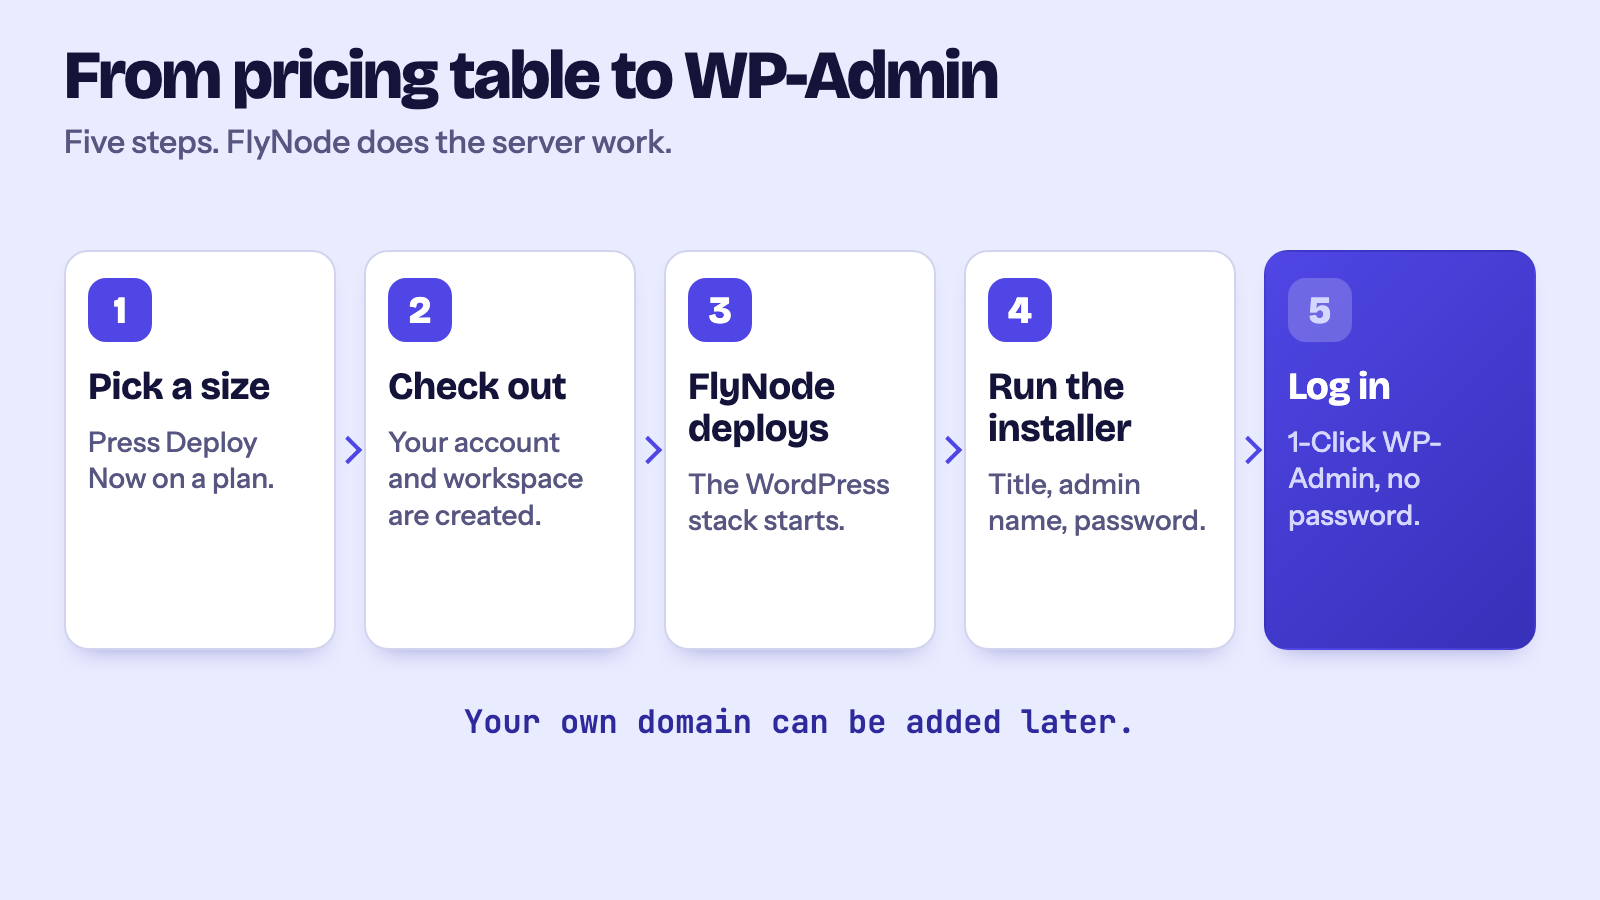
Step 1: Pick a size
Open the WordPress pricing section. The table lists every Cloud Workspace size with its memory, vCPUs, storage and monthly price. The smallest, Micro, has 1 GB of RAM, 1 vCPU and 10 GB of storage for $2.95 a month.
If you are not sure, start small. A single, ordinary WordPress site often fits comfortably in a small workspace, and FlyNode has a Resource Usage page that tells you when the site needs more room. Moving up a size later is a button, not a migration.
Press Deploy Now on the size you want. The link already knows you want WordPress, so you do not have to choose an app afterwards.
Step 2: Check out and wait for Running
Create your account and complete checkout. FlyNode then creates your workspace and starts WordPress on it.
Open the app from your dashboard and watch its status. When it changes to Running, the stack is up. The first start takes a few minutes, because this is the moment FlyNode downloads WordPress and sets everything up. Later restarts are quicker.
Step 3: Run the WordPress installer
On the app's Overview tab you will find the live address of your site. It ends in .flynode.io. Open it and WordPress shows its installer.
Fill in the usual details: a site title, an administrator name, a strong password and your email. One small piece of advice: do not call the administrator admin. It is the first name attackers try on every WordPress site.
Step 4: Log in with one click
After the installer, use 1-Click WP-Admin on the app page. It signs you in without typing a password. The link works once and expires after five minutes, so it is safe to click and forget.
That is the whole deployment. You have a working WordPress site with caching already switched on.
What the first start sets up
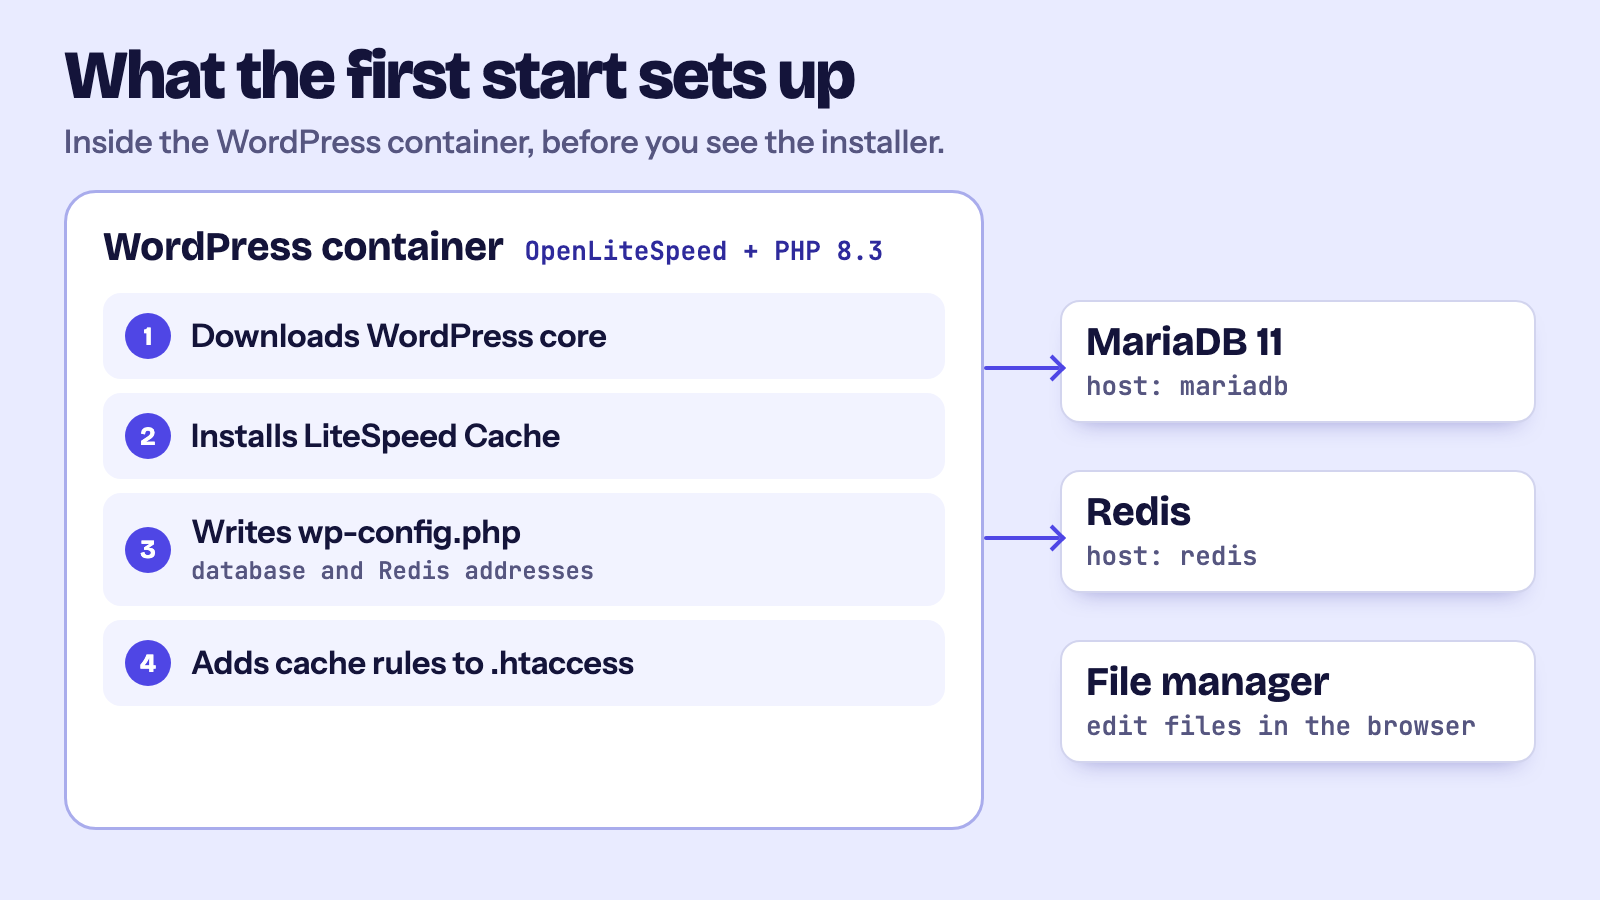
Here is the part you did not have to do. Your site runs as four containers inside your workspace, and they share its RAM and CPU:
- WordPress, served by OpenLiteSpeed 1.8.2 with PHP 8.3.
- MariaDB 11, the database.
- Redis, used as an object cache.
- A file manager, so you can upload and edit files in your browser.
When the WordPress container starts for the first time it does four things before you ever see the installer:
- It downloads WordPress core.
- It installs the LiteSpeed Cache plugin.
- It writes
wp-config.php, with the database details and the address of the Redis container already filled in. - It adds the page cache rules to
.htaccess.
Sized to your workspace
You do not tune the database or the cache. FlyNode gives MariaDB and Redis a share of your workspace's memory that fits your size, and Redis is set to drop the least recently used items first when it is full. Both are set from your workspace size.
Because all four containers draw from one pool, a busy site, a big import and a staging copy all compete for the same RAM. That is the one thing to keep in mind as the site grows.
Check that it is wired up
You do not have to take our word for any of this. The app page has an in-browser Terminal. Choose the wordpress container, go to the site folder and ask WordPress itself:
cd /var/www/vhosts/localhost/html
wp --allow-root core version
wp --allow-root plugin list
wp --allow-root config get DB_HOST
wp --allow-root config get WP_REDIS_HOST
You should see your WordPress version, a plugin list that includes LiteSpeed Cache, and the two host names mariadb and redis. Those names are how WordPress finds the other containers, and they only work from inside your workspace.
If the wp command is not found, open the Security tab once and try again. More commands are in the WP-CLI cookbook.
One honest note about Redis. The configuration already points at the Redis container, but WordPress only uses an object cache once a plugin or a setting asks it to. Turn on object caching in the LiteSpeed Cache settings, or use a Redis object cache plugin, and WordPress will start using it.
What to do next
- Add your own domain. Follow Custom Domains for Your Apps. The site works on its
.flynode.ioaddress until you do. - Make a staging copy before you change anything on the live site: Staging and Push to Production.
- Look at the Security tab and its score: hardening and scans.
- Moving an existing site? The migration guide covers it.
Frequently asked questions
How long does it take to deploy WordPress on FlyNode?
Checkout is quick, and the first start takes a few minutes while WordPress is downloaded and configured. After that you run the standard WordPress installer.
Do I need to install or configure OpenLiteSpeed, MariaDB or Redis myself?
No. They are started and connected for you. The database address and the Redis address are already in wp-config.php.
Which Cloud Workspace size should I start with?
Start with the smallest size that gives your site some headroom. The Resource Usage page shows how much memory and CPU the site really uses, and you can move to a larger workspace when it needs one.
Can I use my own domain?
Yes. The site starts on a .flynode.io address, and you can add your own domain from the Custom Domain tab.
Next steps
Ready to try it? Pick a size in the WordPress pricing section. In a later article we will look at how to cache a WordPress site well, once it is running.
Get new articles in your inbox
New guides on WordPress, tracking and automation, once or twice a month. No spam, unsubscribe any time.